From kickoff to the final whistle, game day is all about spending time with friends and family while rooting for your favorite team. When it’s your turn to host, you can bring all the fun of a tailgate party to the comfort of your couch with the proper plan for hosting.
Show Your Team Spirit
Make your guests feel excited from the moment they walk through the door – or as soon as they pull in the driveway – by decking out your space in team colors and memorabilia. Use football- or team-themed banners, flags, balloons, coasters and tablecloths to set the mood.
Wear your favorite jersey and create a stadium-like atmosphere with fun props like foam fingers or pom-poms for guests to use and cheer on their team.
Prep Ahead of Time to Score Big
Avoid a rush before kickoff by making a checklist of everything you’ll need. Ensure your TV and sound systems are working correctly and that you have access to the right channel or streaming platform.
Make a store run at least a day in advance to grab everything you’ll need for your watch party: dishes, snacks, drinks, tablecloths, trash bags and some household essentials like Finish Ultimate Dishwasher Detergent. Finish Ultimate tackles dish cleanup in the kitchen like a pro, so hosts can enjoy all the fun parts of game day without the worry.
If possible, pack your coolers the night before – just as you would for tailgating at the stadium – and prep and cook any dishes you can ahead of time, so you can enjoy the action with minimal interruptions.
Feed the Fans
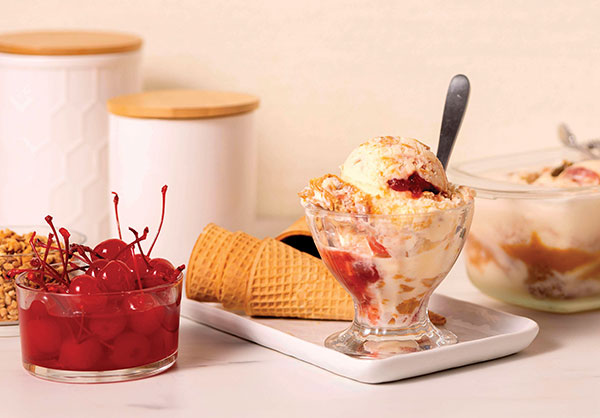
Football fans are often foodies, too. A buffet-style food setup allows guests to help themselves to their favorite snacks and dishes throughout all four quarters.
Review your game plan ahead of kickoff to make sure your game day menu offers a variety of finger foods, such as wings, sliders and nachos. Then, take your menu to the next level with unique eats like this new saucy, cheesy creation – the TRUFF Hot Honey Bacon Cheddar Dip with Pretzel Bites – to add a spicy twist.
To complete the roster of game day eats, include a veggie tray or charcuterie board and a variety of beverages, including water, soda and juice. To stay on theme, consider serving cake or brownies in the shape of a football for dessert or topping cupcakes with icing in the team’s colors.
Tackle Cleanup
All those delicious snacks your guests are enjoying are sure to make a mess. For hosts tackling cleanup during the game, don’t miss out on all the on-screen action–turn to the star player to make cleanup a breeze: Finish Ultimate Dishwasher Detergent.
Finish Ultimate tackles tough game day messes, even without pre-rinsing, leaving hosts more time to cheer on their team and less time in the kitchen cleaning up.
Create the Perfect Viewing Environment
Ensure everyone has an unobstructed view by arranging your seating strategically. Use a combination of couches, chairs and floor cushions to accommodate your guests. Scatter small tables throughout the area within easy reach for guests to place their drinks and snacks while the action is live.
To ensure fans never miss a moment of the action, turn the TVs in other rooms to the game as well; just ensure the sound is down in case the main screen is ahead or behind of the secondary viewing options.
Consider Downtime Entertainment to Keep the Energy High
While the main event is watching the action, you can keep the excitement going during halftime and commercial breaks with fun activities like cornhole, football trivia, bingo, mascot matching or an old-fashioned game of catch. Also have some board games, card games or video games on hand for those who might want to take a break from watching or children who aren’t as engaged in the on-screen action.
For the ultimate game day recipe and to find more ways to tackle dish cleanup in the kitchen on game day, visit finishdishwashing.com/truff-hot-honey-bacon-cheddar-dip.

Hot Honey Bacon Cheddar Dip with Pretzel Bites
Recipe courtesy of Finish
Prep time: 15 minutes
Cook time: 1 hour
Servings: 12
- 5 slices bacon
- 1/2 cup honey
- 2 tablespoons TRUFF Original Hot Sauce
- 16 ounces cream cheese, softened
- 2/3 cup lager-style beer
- 1/4 cup Dijon mustard
- 24 ounces cheddar cheese, grated
- 1/2 cup fresh scallions, chopped
- 1 teaspoon garlic powder
- 1 teaspoon onion powder
- 1/2 teaspoon cracked black pepper
- 24 ounces frozen pretzel bites, baked according to package instructions
- Preheat oven to 400° F.
- Evenly space bacon in 13-by-9-inch dishwasher-safe ceramic or glass baking dish.
- Bake bacon 10 minutes.
- Microwave honey 15-20 seconds. Add hot sauce and whisk to combine.
- Remove bacon from oven and carefully pat dry with paper towels.
- Brush bacon with hot honey and return to oven. Set aside any remaining hot honey for later use.
- Bake bacon 10-15 minutes until brown and crisp. Set bacon aside to cool.
- Chop bacon into small, bite-sized pieces.
- Pour bacon pan drippings into bowl and discard once cool.
- In bowl, whisk softened cream cheese, beer and mustard to combine.
- Add grated cheddar cheese, chopped scallions, garlic powder, onion powder and black pepper. Stir until thoroughly combined.
- Spread mixture evenly in 13-by-9-inch dishwasher-safe ceramic or glass baking dish.
- Bake 20-25 minutes, or until hot and bubbly.
- Remove from oven and rest 5 minutes.
- Sprinkle top of dip with chopped bacon and drizzle with remaining hot honey.
- Serve dip alongside baked pretzel bites.
Finish